Complete Exterior Transformation
Scope
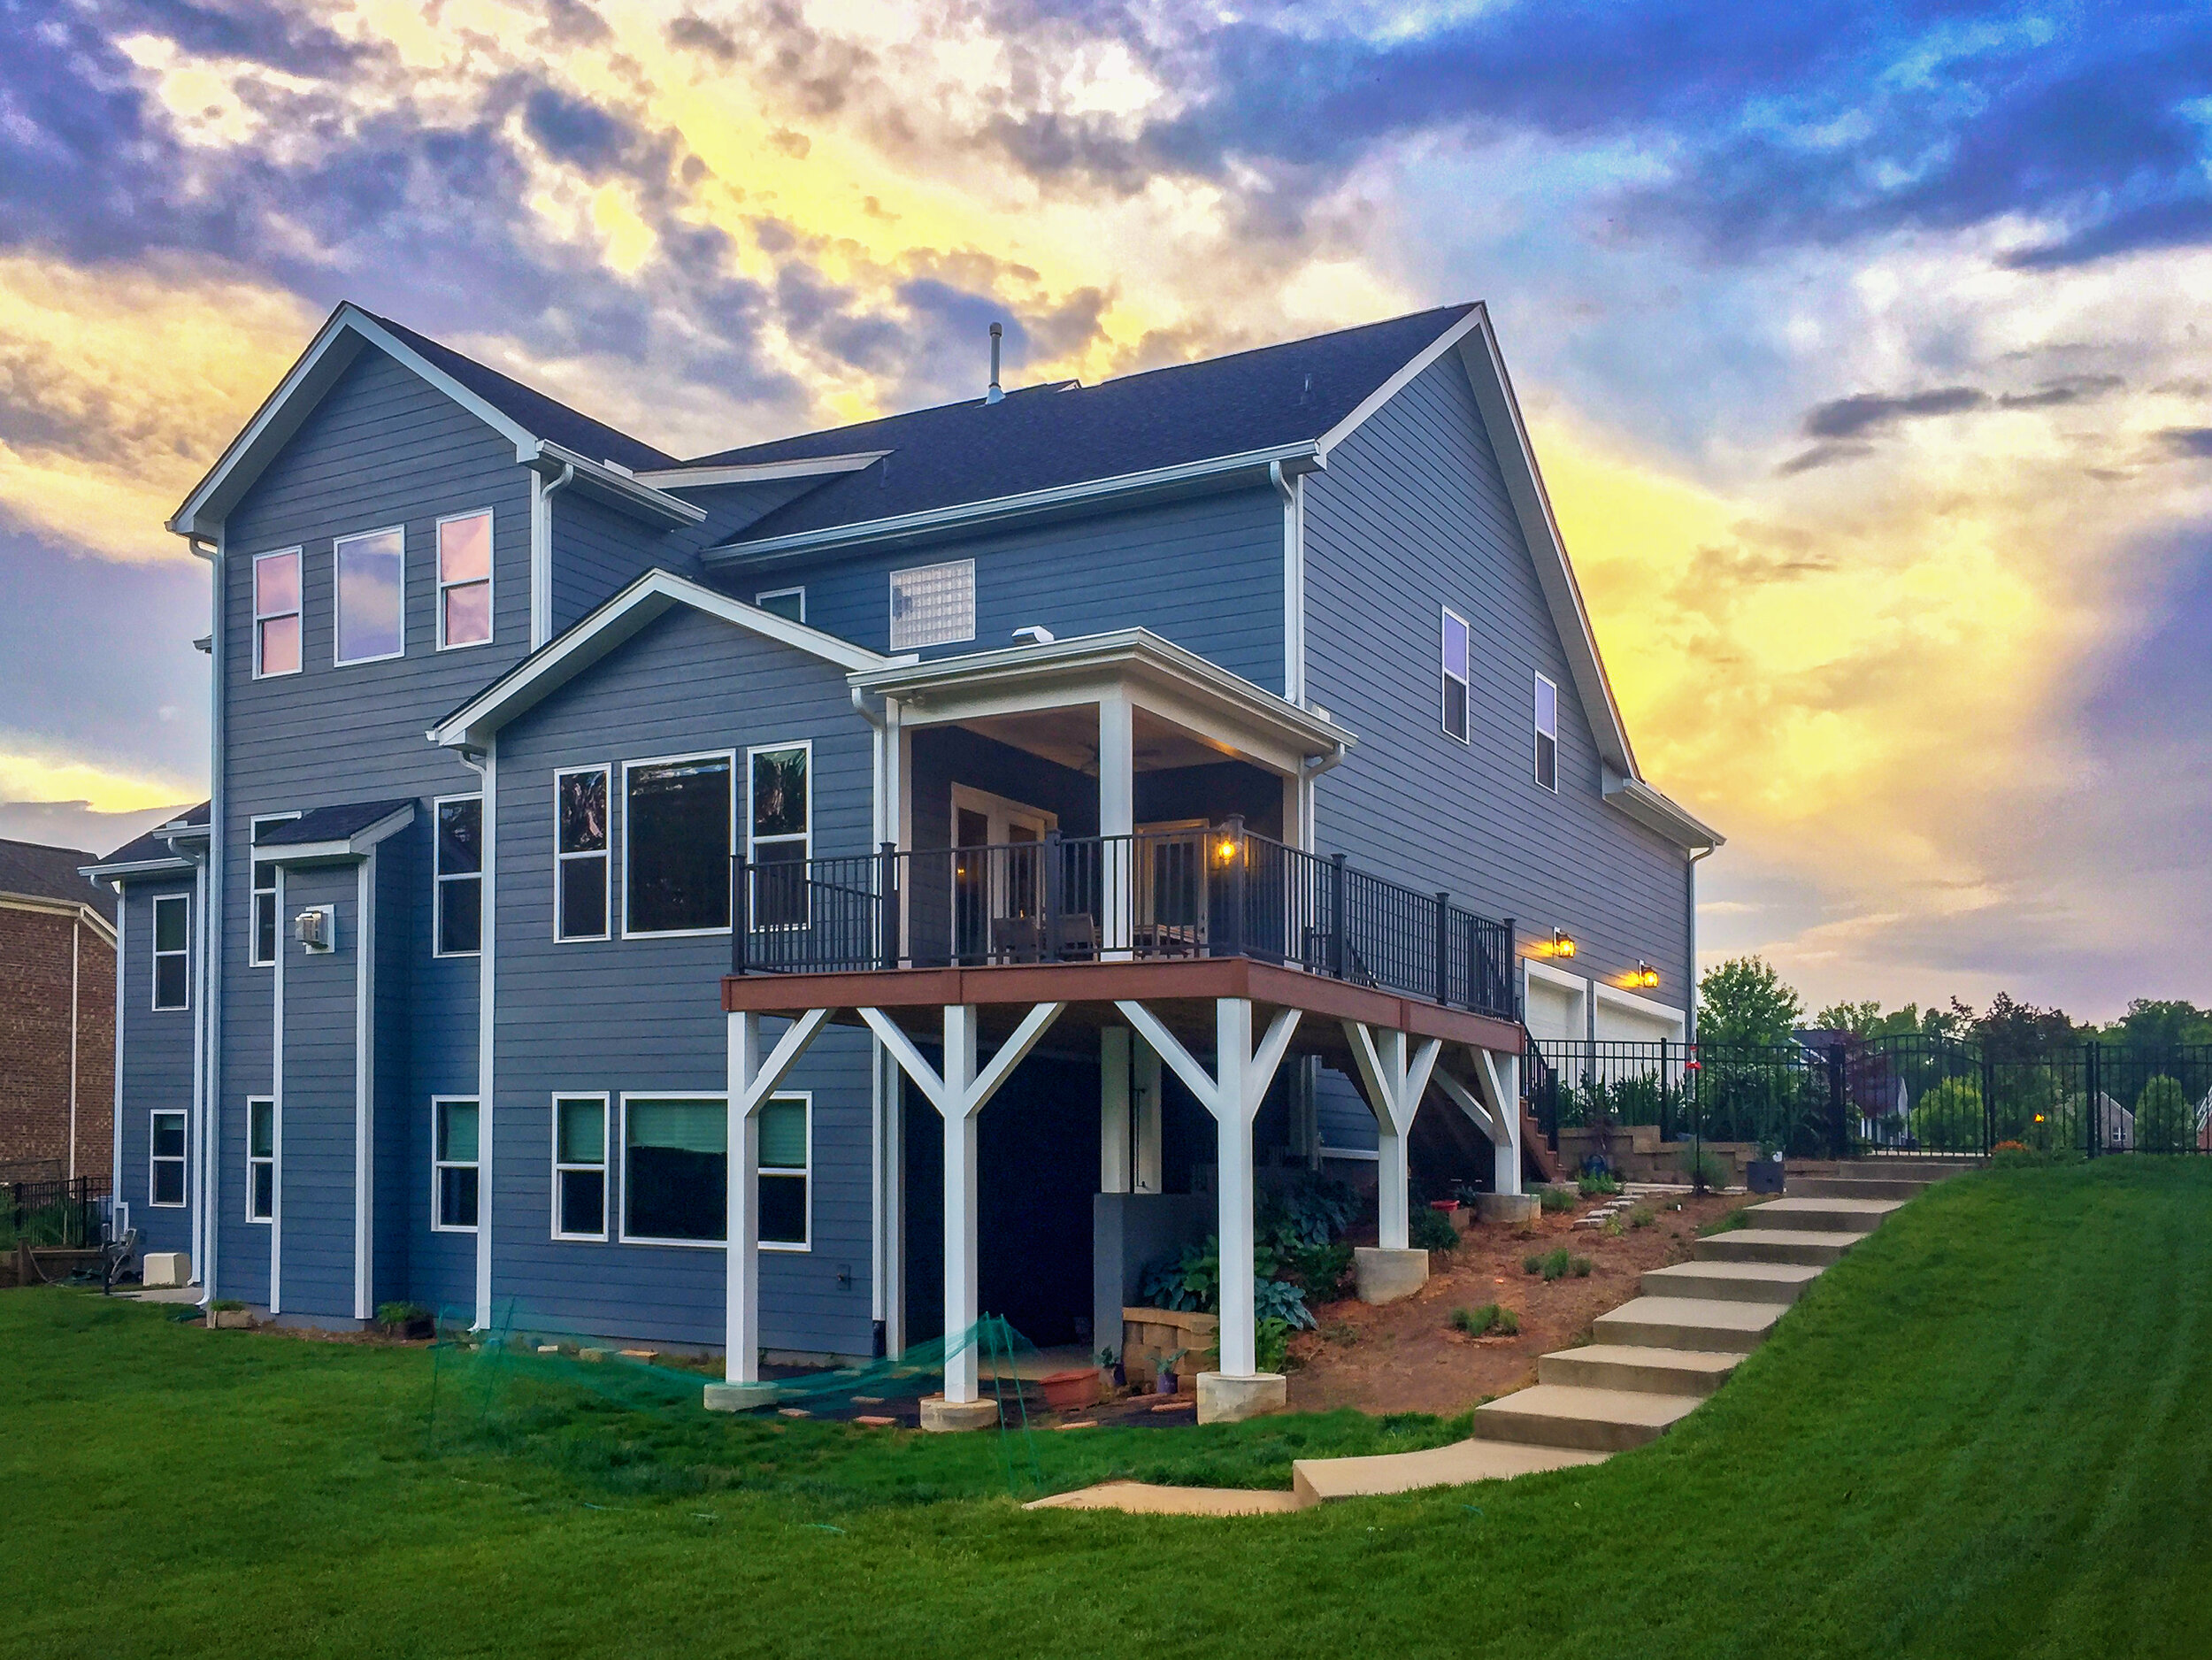
This project was structured in phases and resulted in a breathtaking remodel for these homeowners.
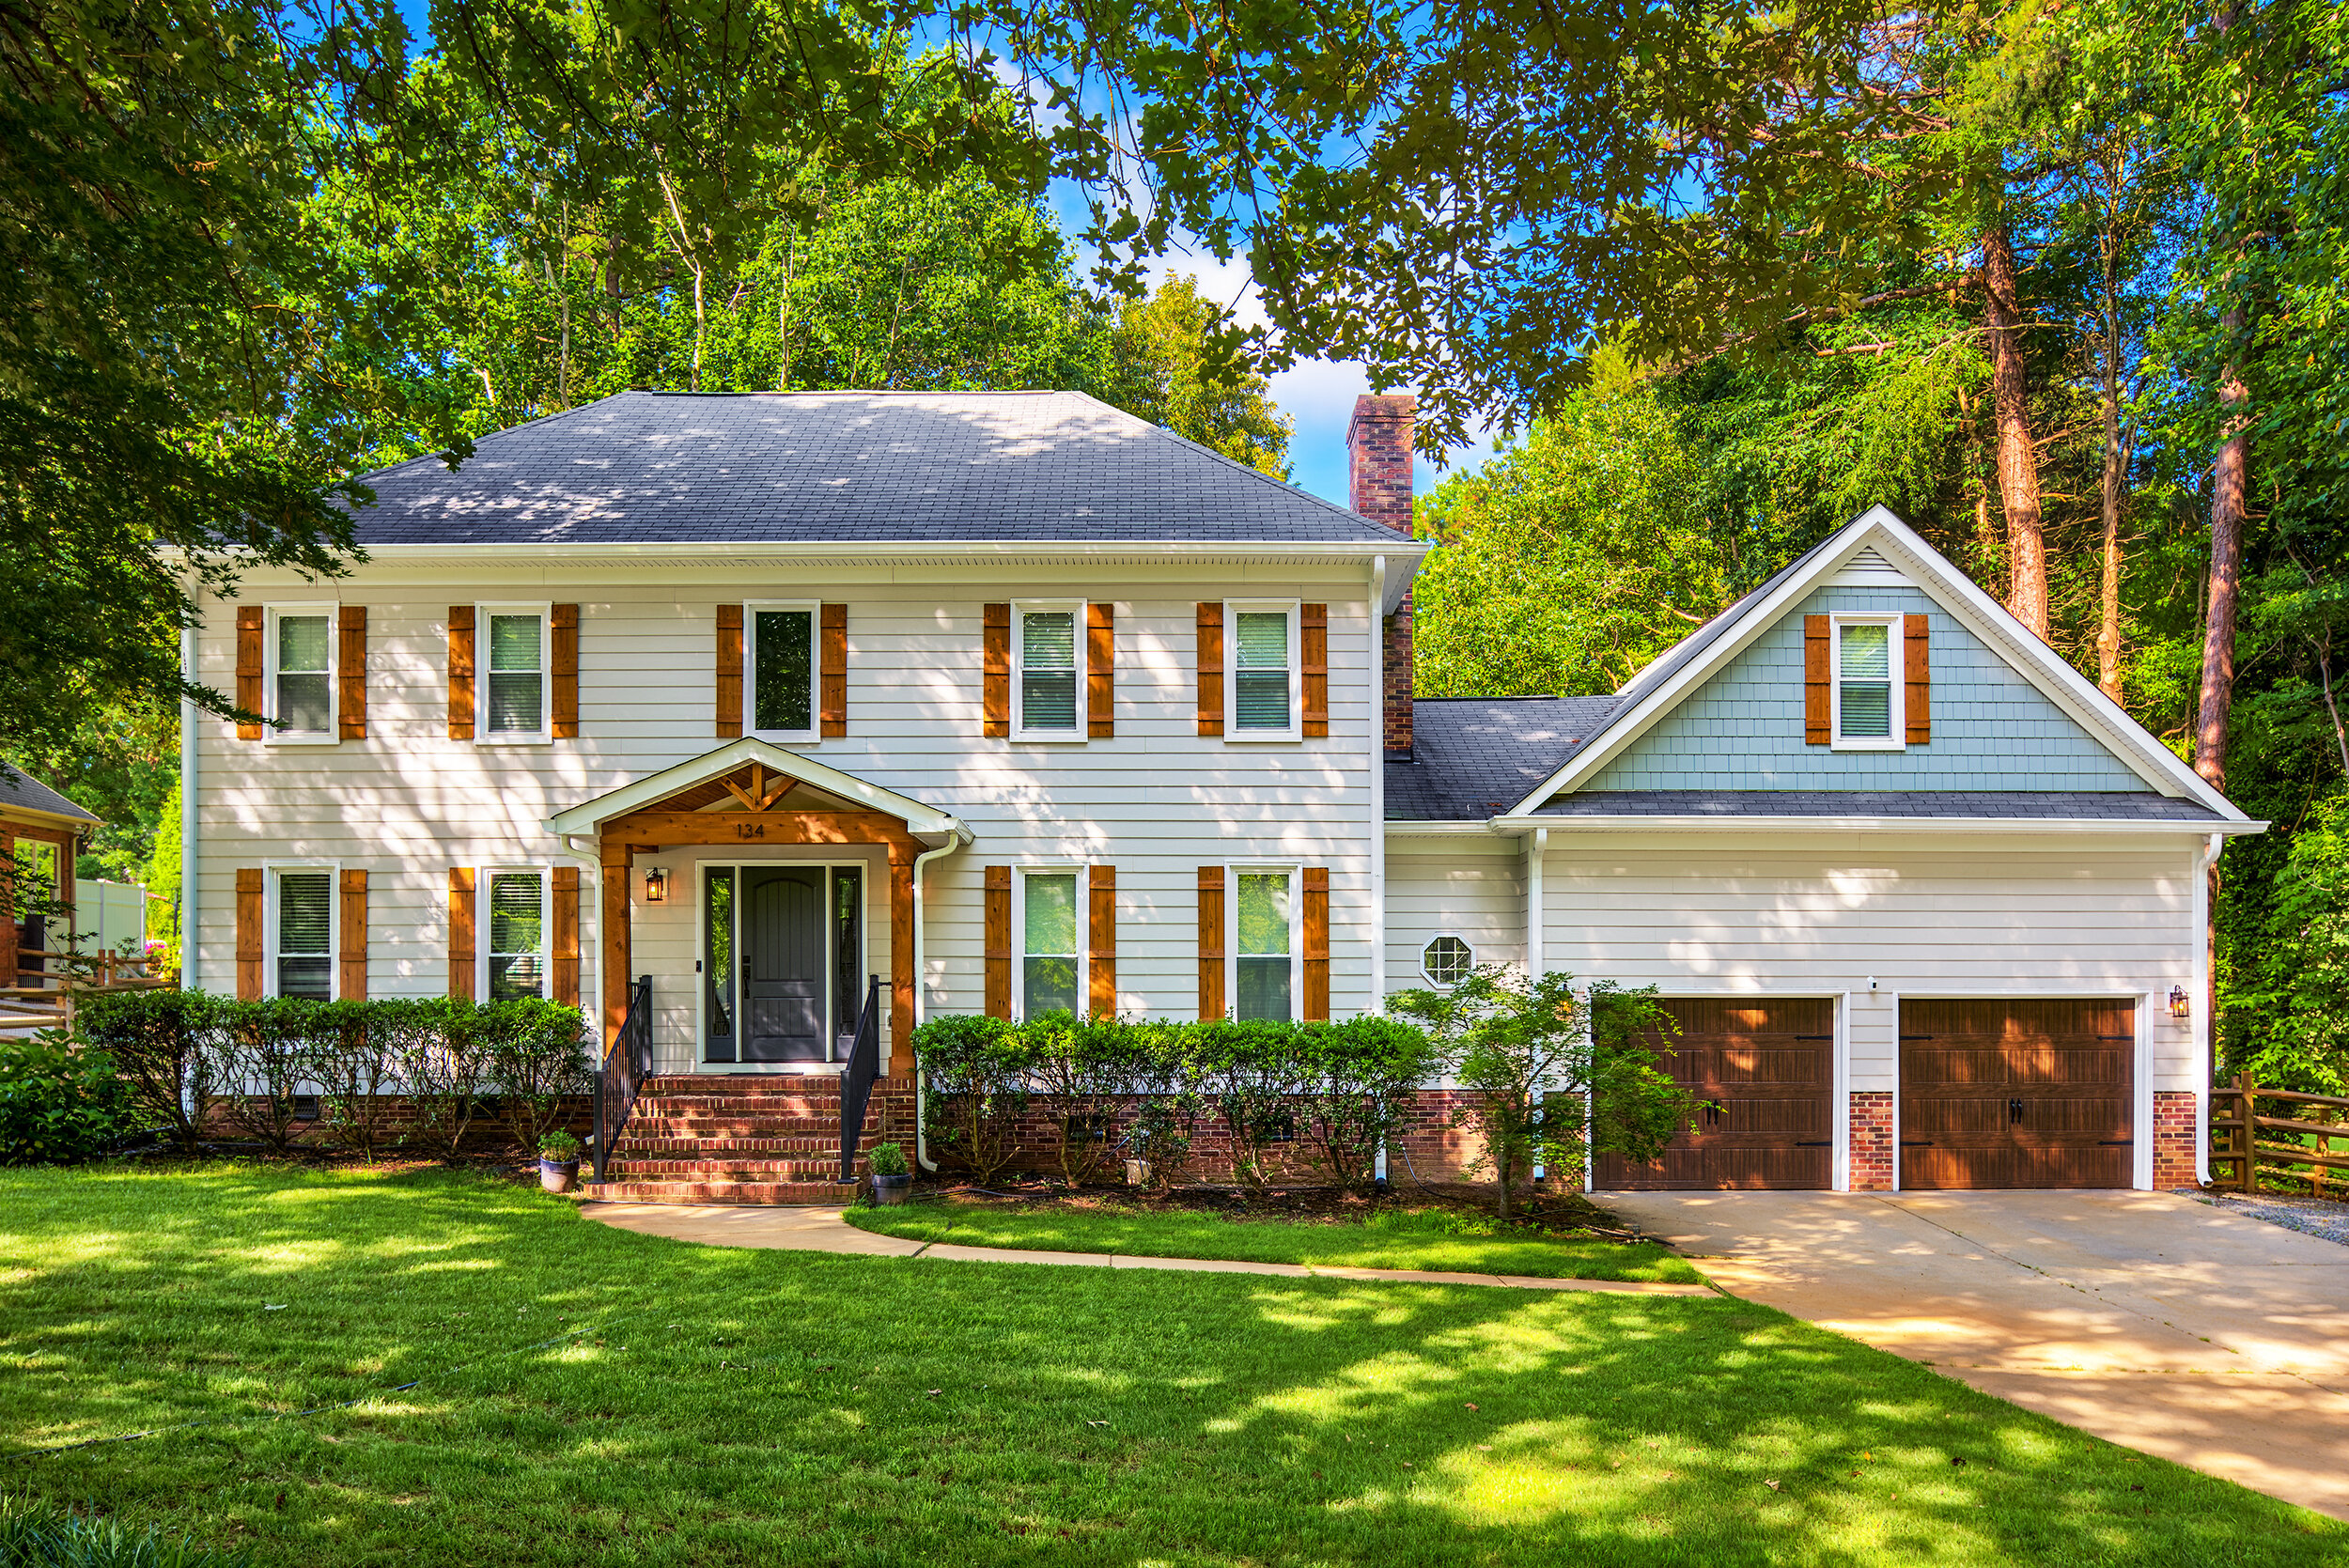
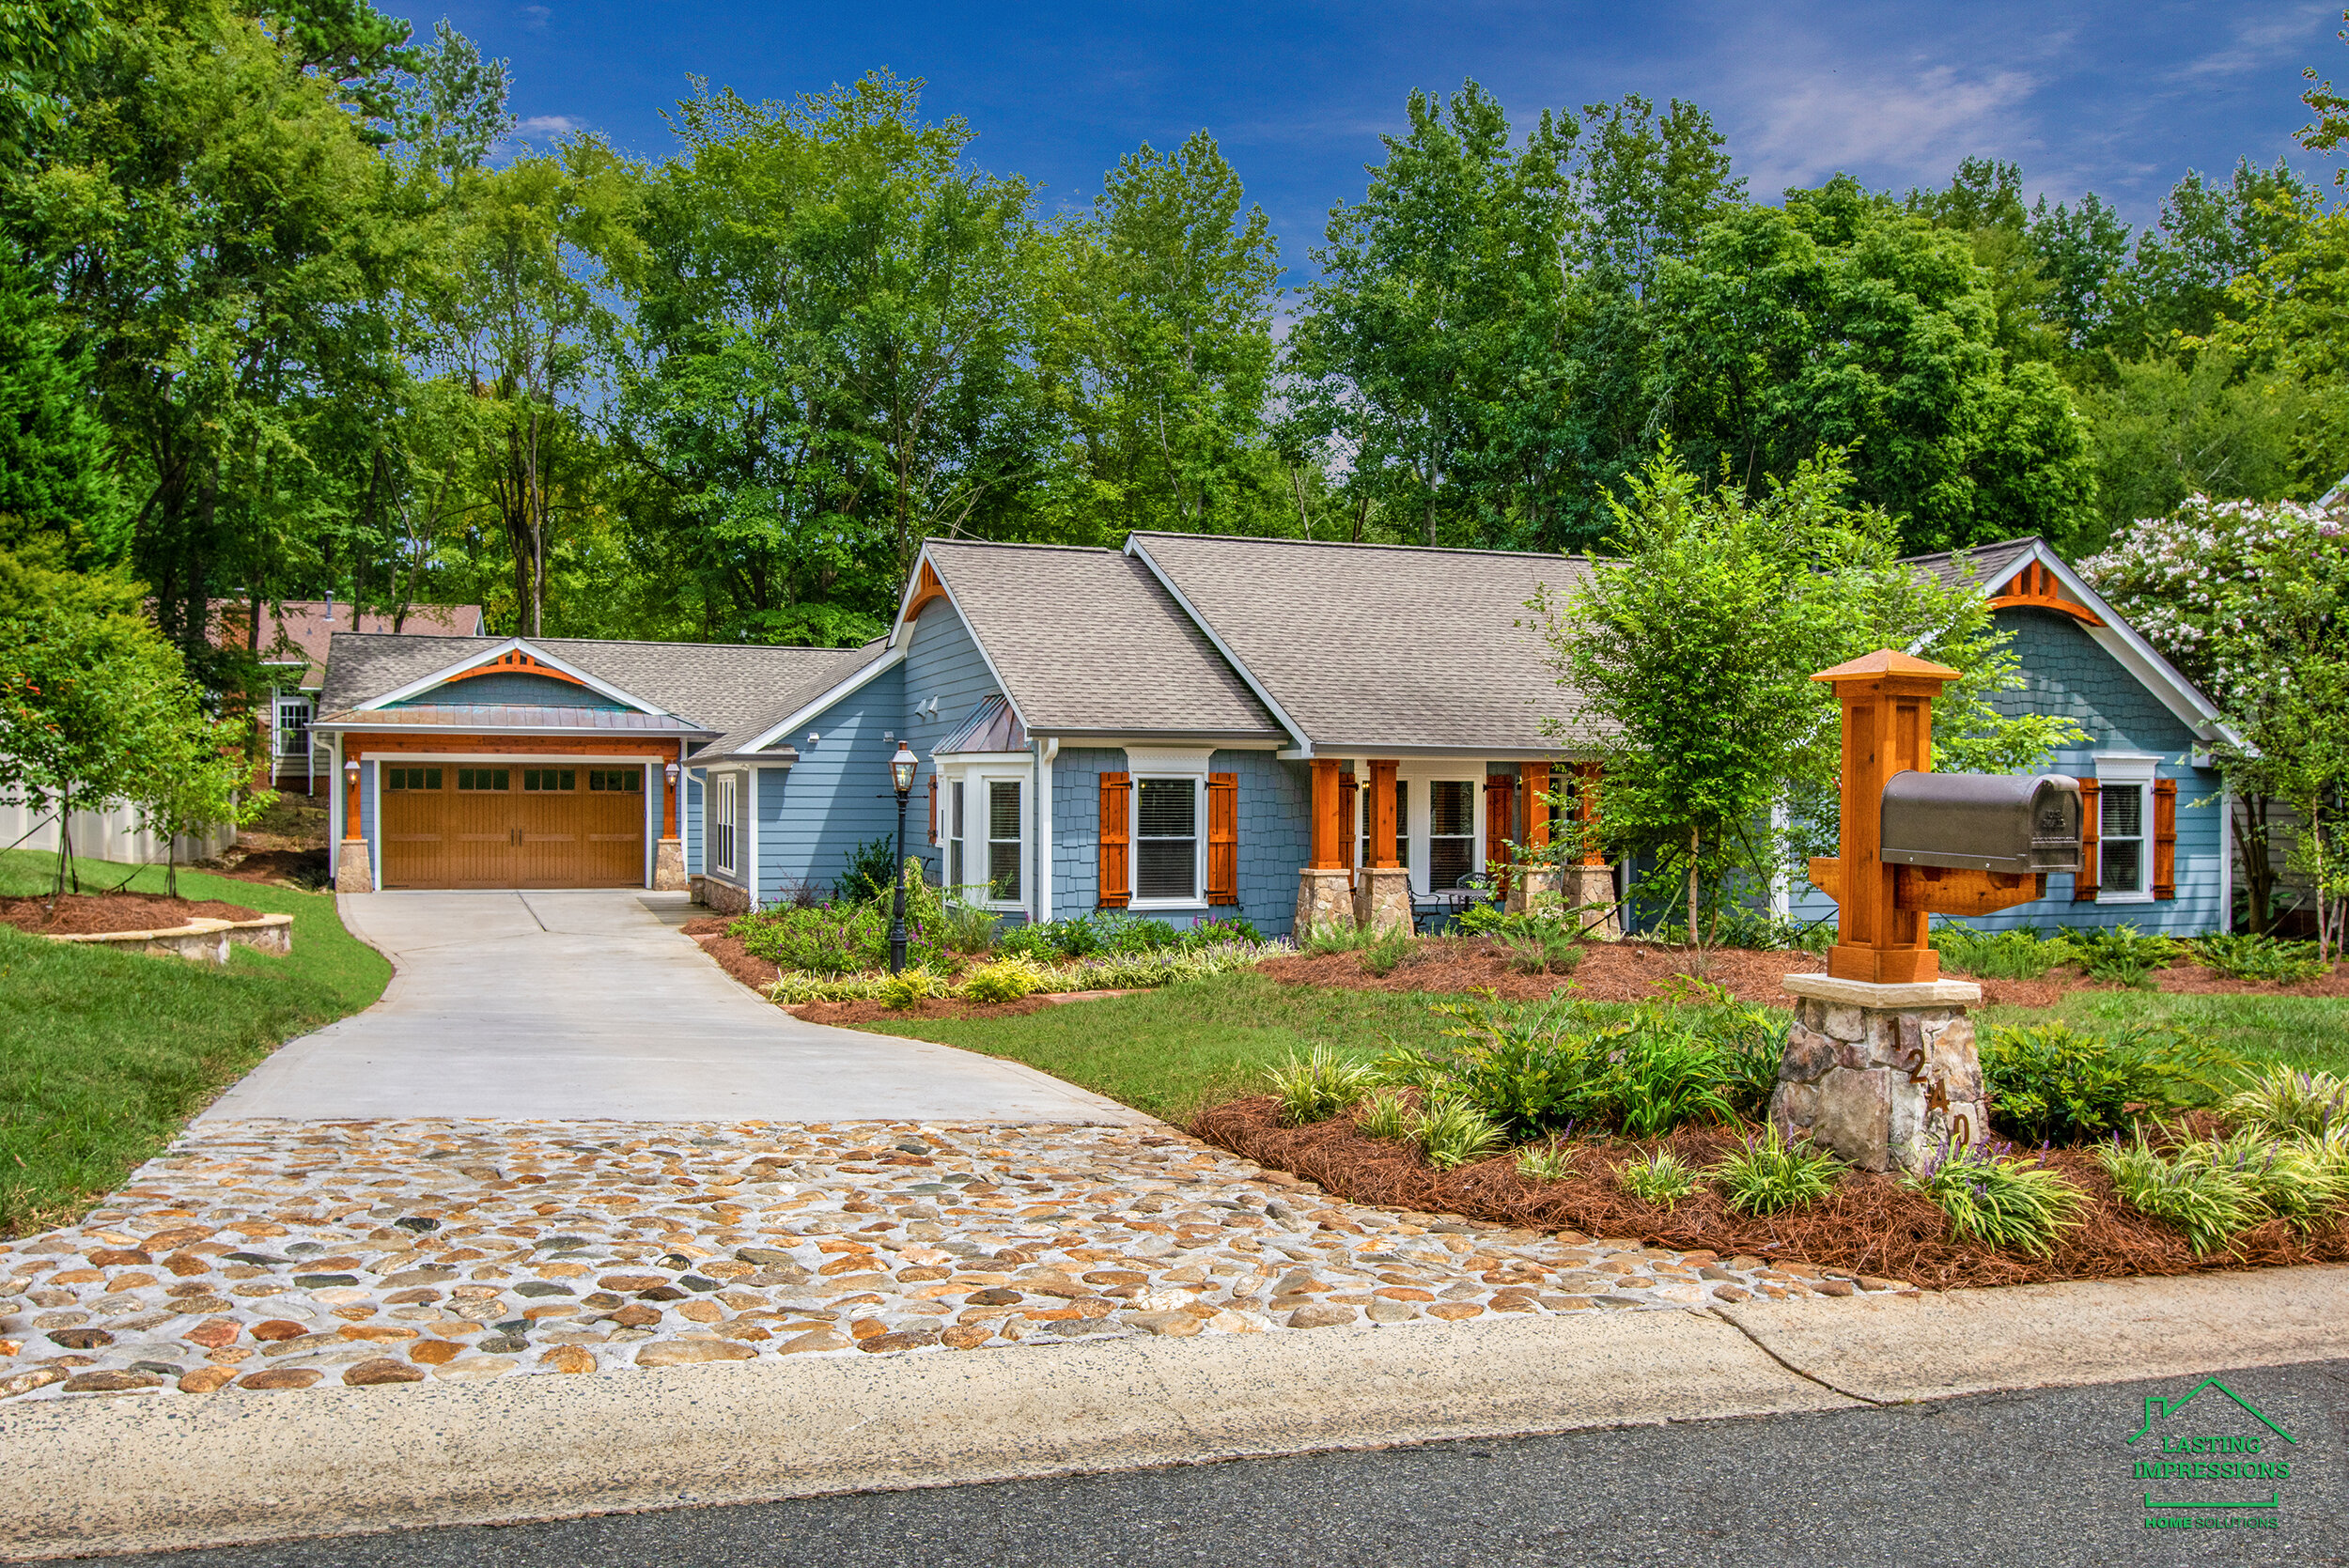
During the first phase, we not only re-sided the whole house in James Hardie Color Plus but also converted their original attached double garage into additional living space. We included many special touches to the exterior of this home, from decorative crossheads over the windows and cedar hurricane shutters to cedar wrapped front columns and decorative cedar gable trim.
In the second phase, we re-graded the backyard to build a new double garage with a spacious multi-purpose room, including an elegant oversized utility sink and a powder room. This multi-purpose room is accessible through oversized reclaimed barn doors from the garage or through the exterior side door. The concrete floor has been stained with a durable epoxy. A Mini-Split HVAC system keeps the temperature inside just right. The exterior received the same elegant decorative elements to match the home. Cedar and flagstone columns on both sides of the garage door support the copper accent roof adorned by matching copper coach lights on each side. The homeowners loved the copper roof so much that we added one over the bay window on the side of the house.
Our Hardscape crew built a retaining wall along the side of the garage. Due to the sloping backyard, we paid particular attention to properly redirect the rainwater. We installed a french drain and connected the gutters to the new underground drainage system. The rainwater can now escape through two 5-inch brass spouts and flow down our newly built dry stone river bed.
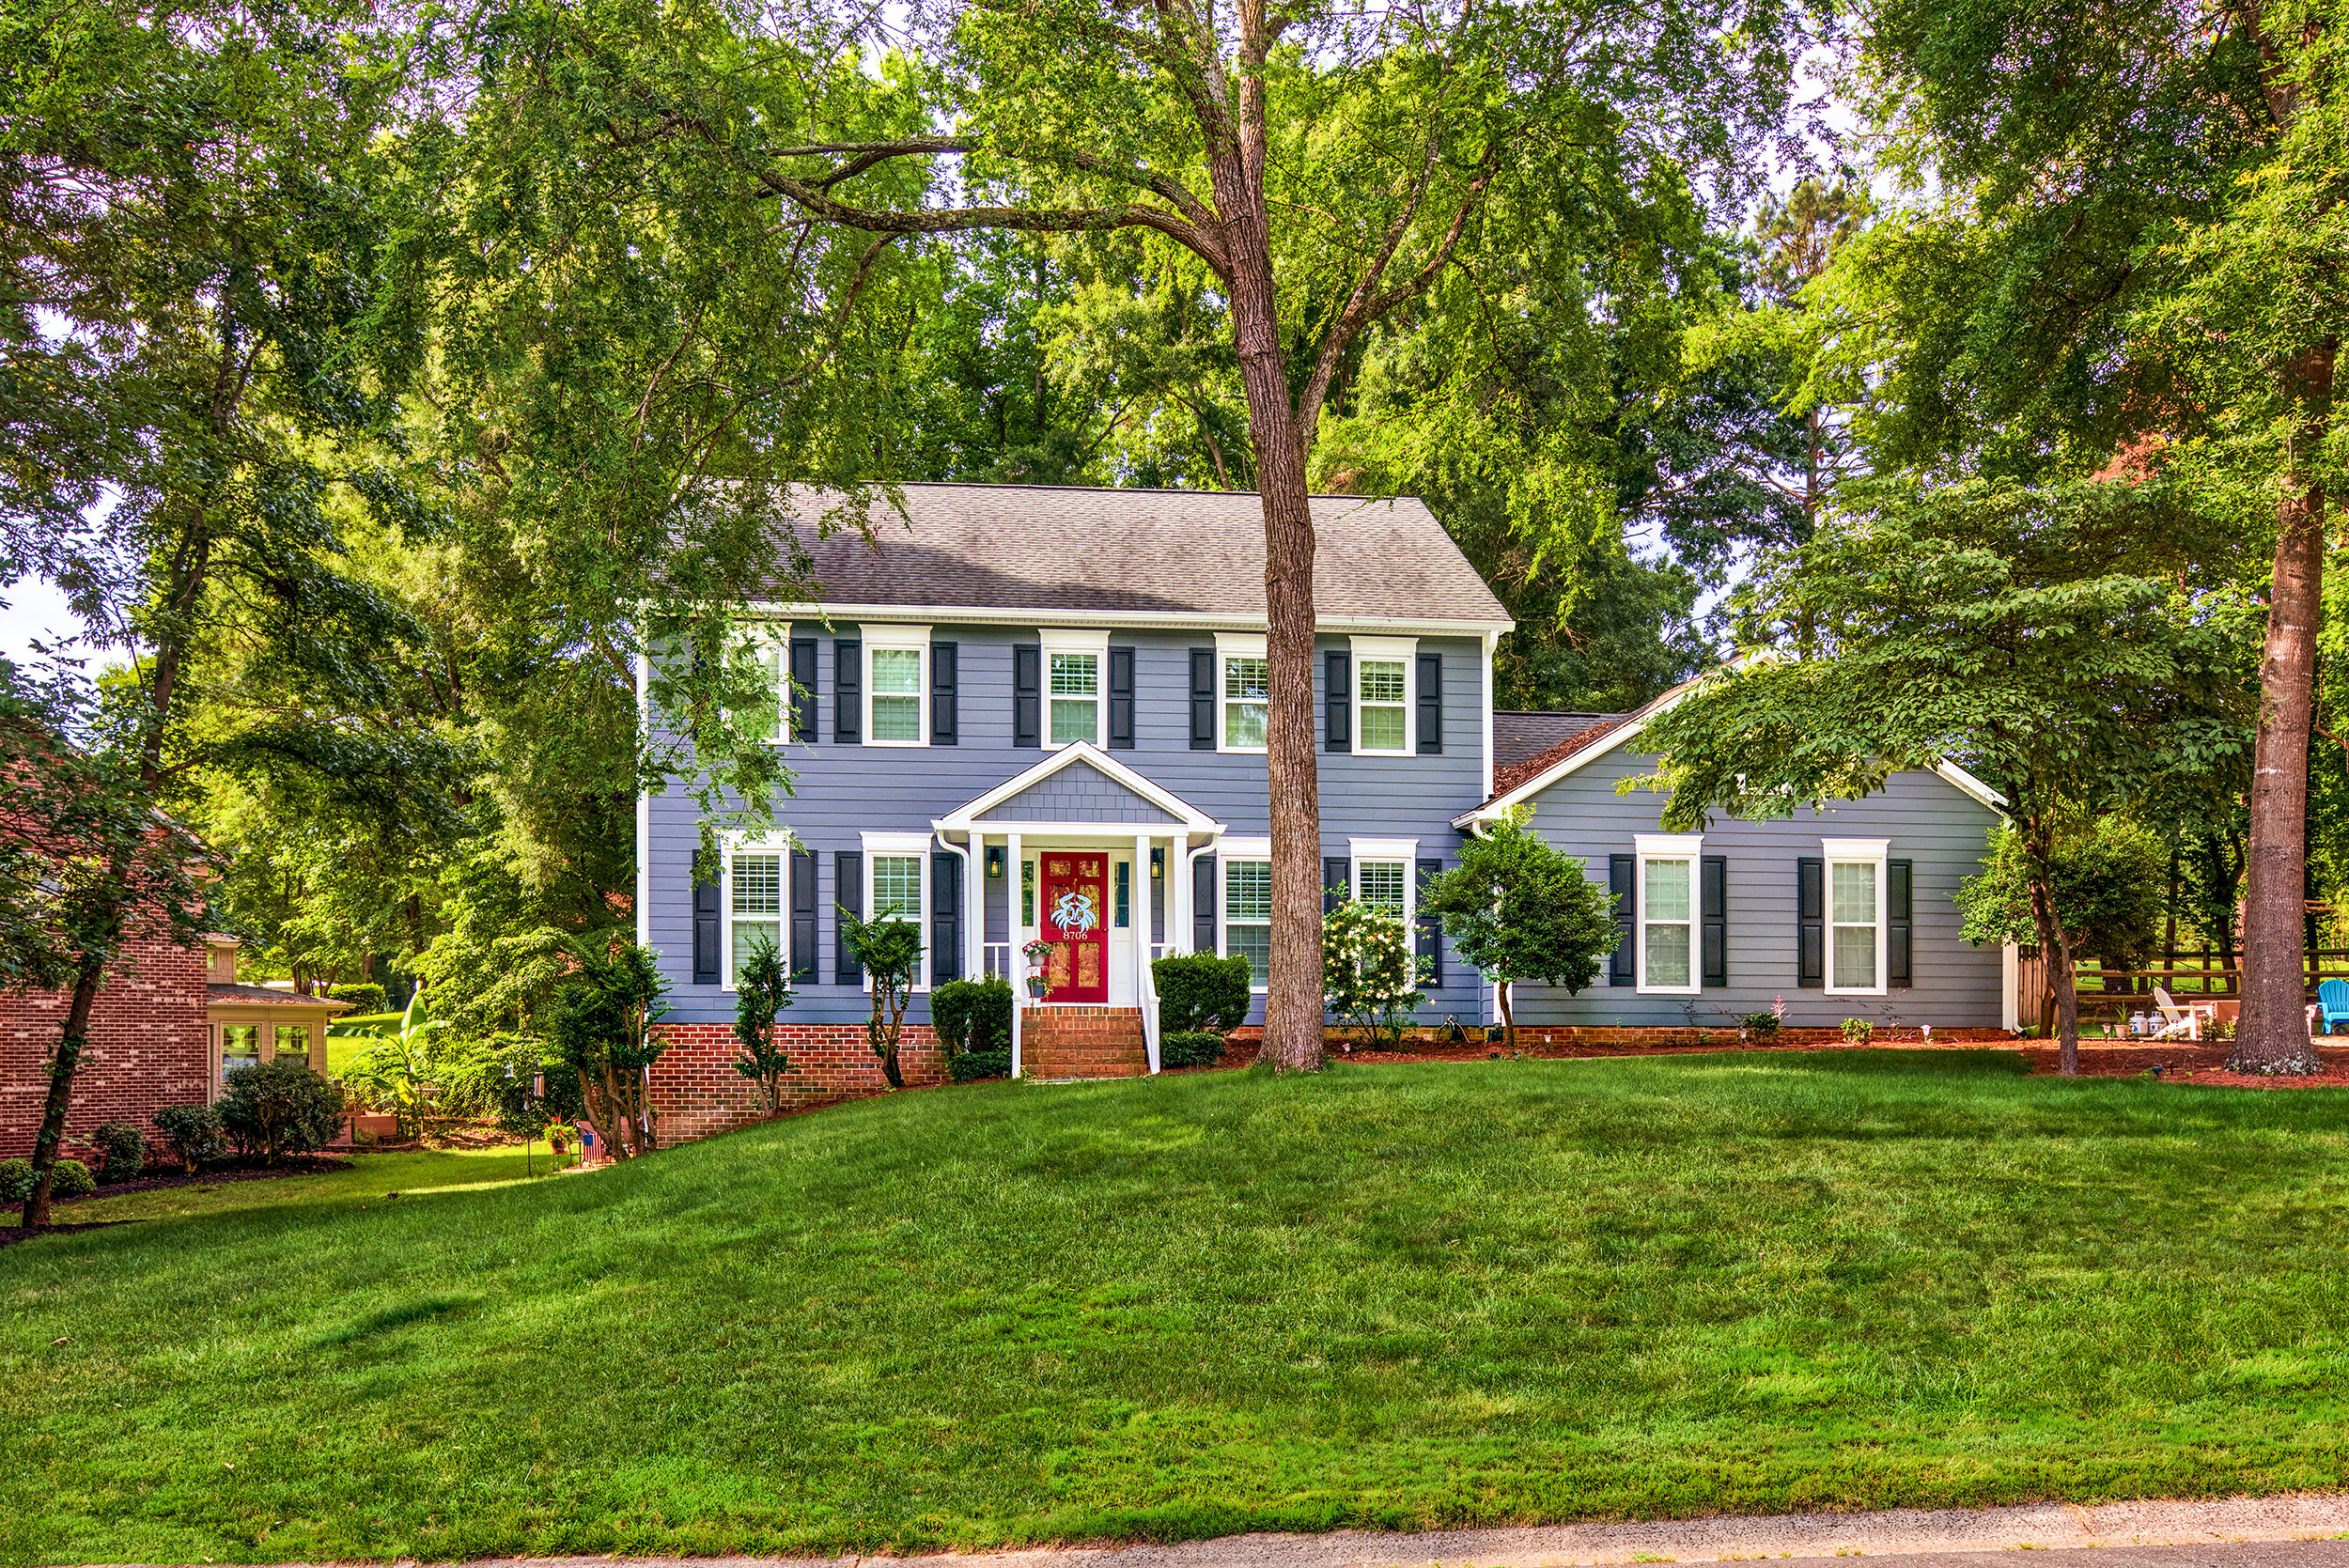
Here are a few pictures of the property before our work began.
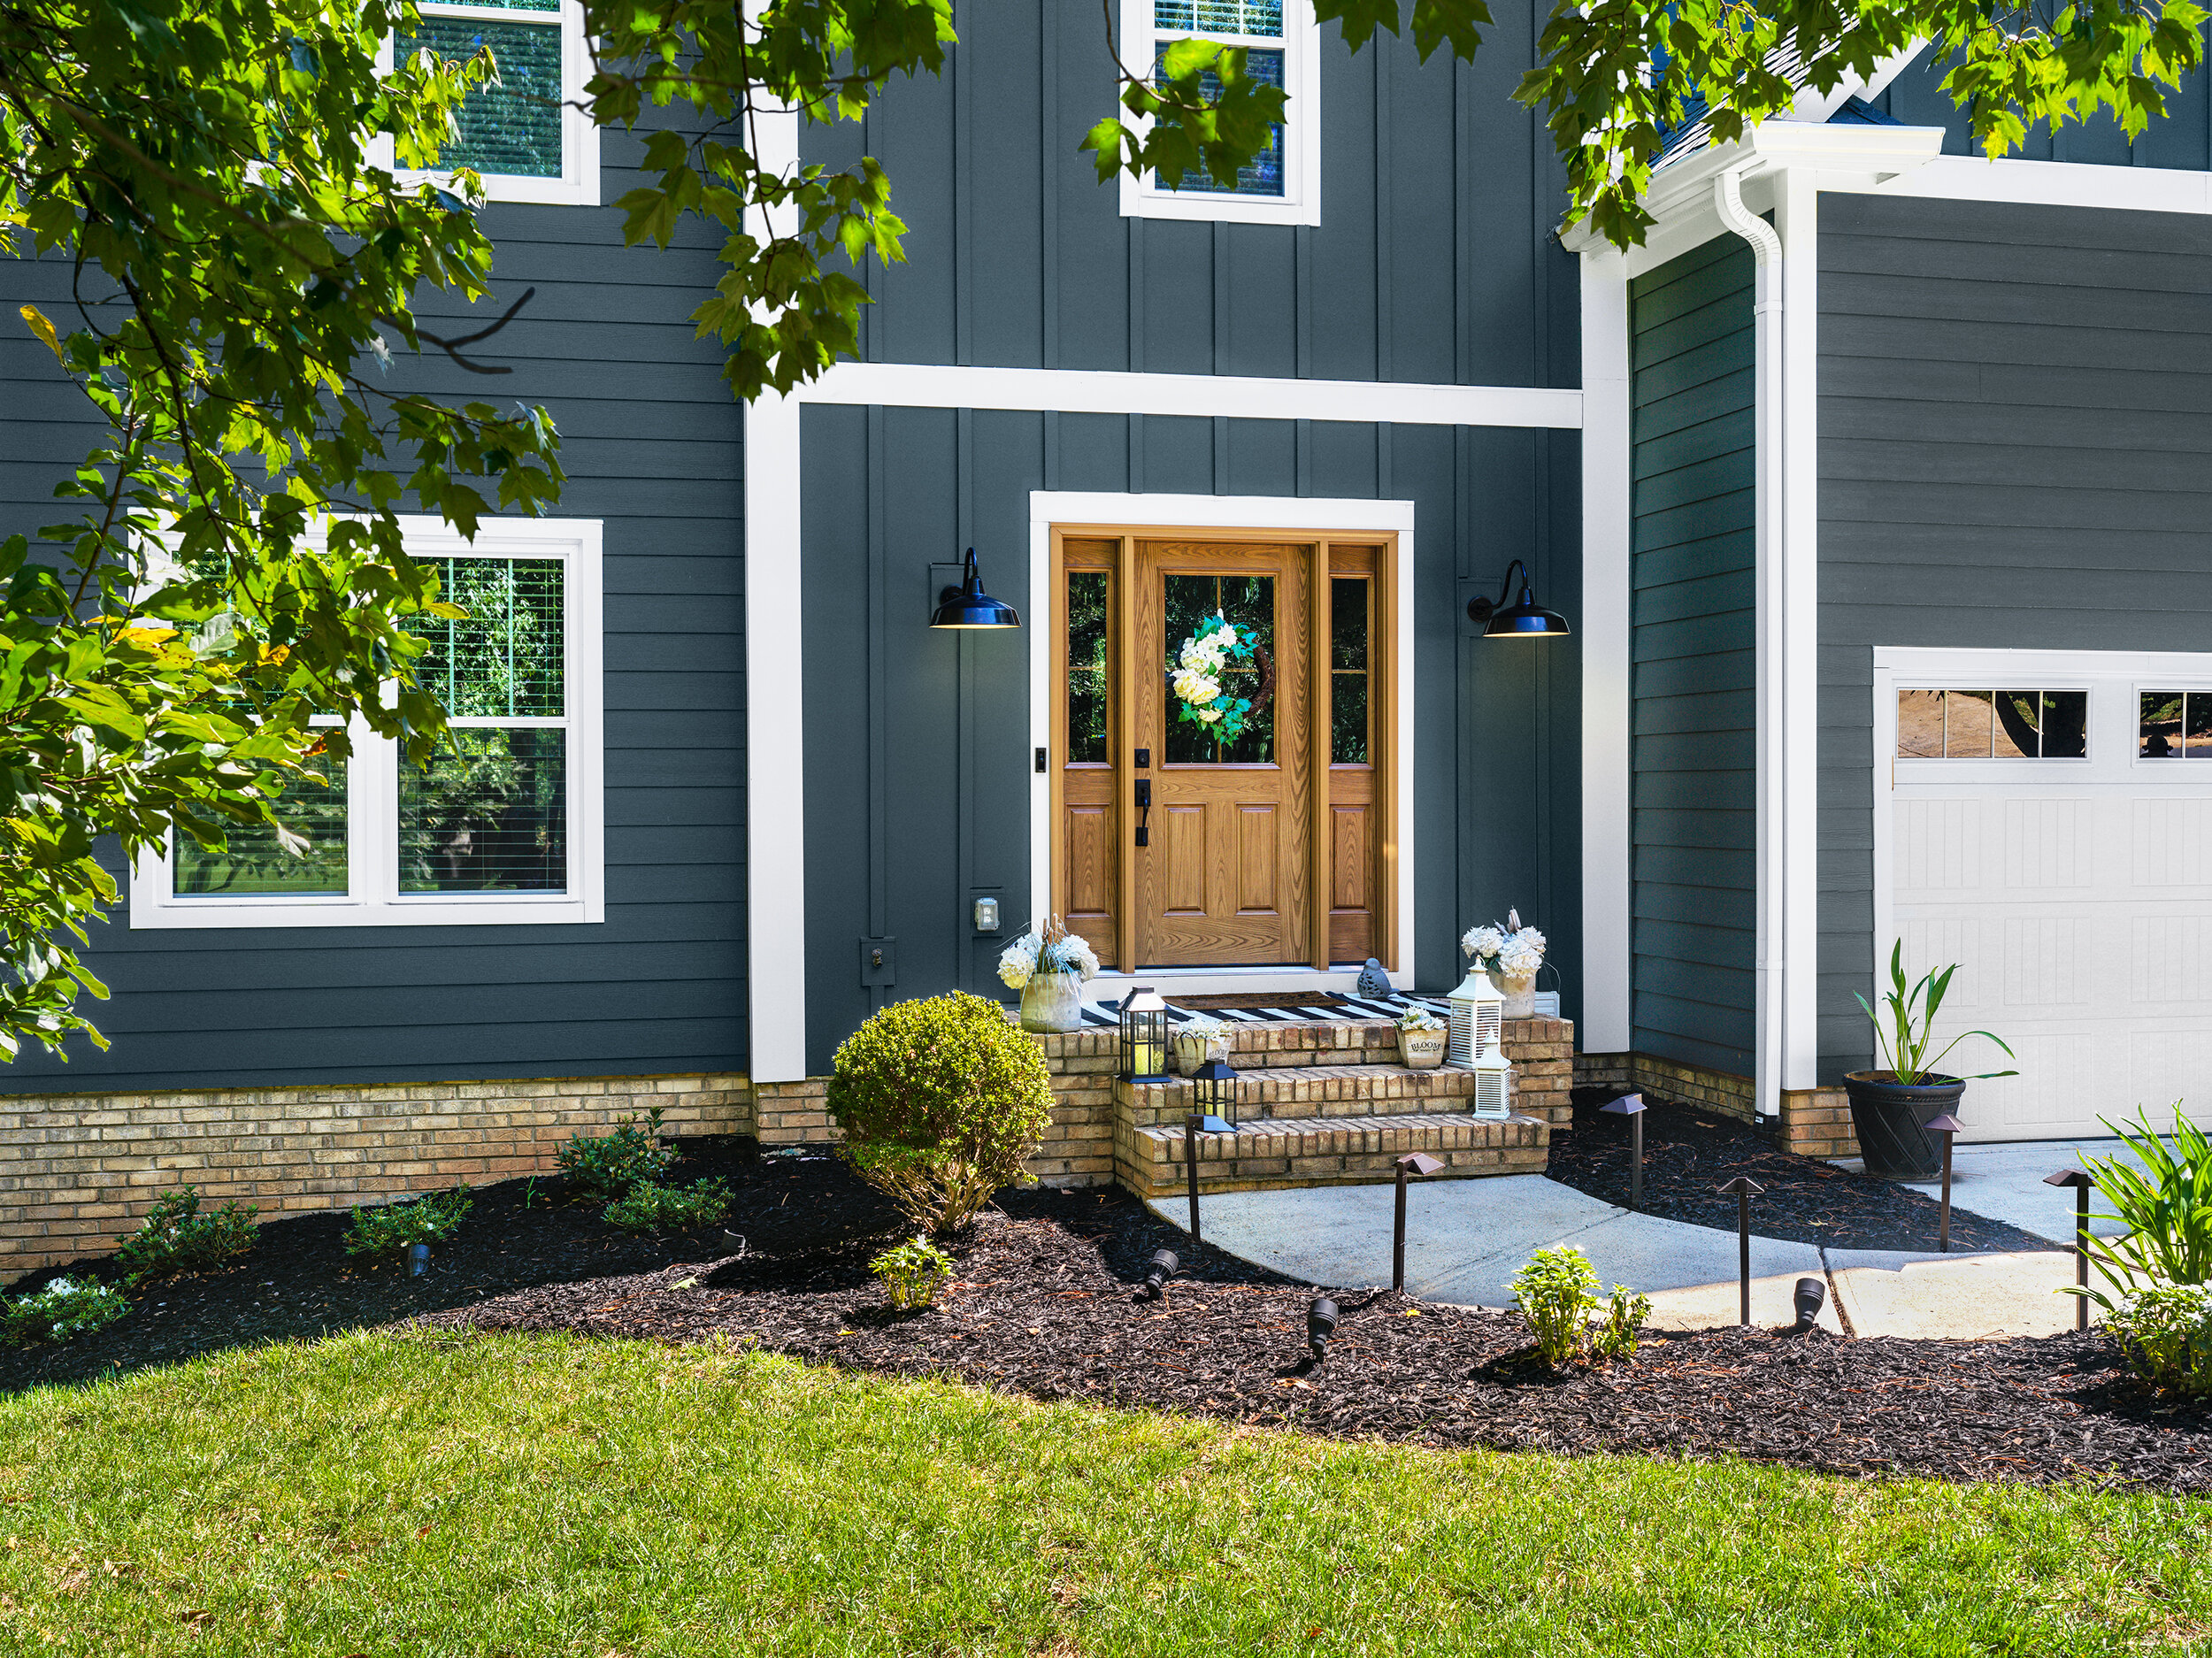
We re-sided the whole house using James Hardie Color Plus Cedarmill Hardie Planks and James Hardie Staggered Edge Panel Hardie Shingles.
While enclosing the old garage, we installed five new windows, making the additional living space bright and inviting.
With phase one completed, a few months later, we started building the new garage.
Below is the backyard space, where the garage will go.
Once the architectural plans were approved and all required permits were issued, we started surveying and grading the property for the construction to begin.
After framing the footing and laying the underground plumbing, we installed the vapor barrier and poured the concrete.
Below are a few photos of the framing. We fully insulated the garage before installing the drywall.
The copper roof adds an elegant touch to the building. We aged the copper to give it a beautiful patina.
When we removed the old wainscoting around the porch columns, we discovered that they did not have any supporting wood. We replaced all four columns with new 6x6 treated posts before the new pavers were installed on the front porch.
Our hardscape crew cladded the columns with the same flagstone used throughout the property.
We used the same pavers for the back patio as on the front porch.
While the new concrete was curing, our concrete team added decorate river stones to the entrance of the driveway.
We used reclaimed bricks for the path at the front of the house and between the garage and the back of the home.
The garage has the same exterior finishes as the home. The images below capture us installing the cedar gable trim above the garage that matches the ones on the house.
The cedar shutters are an elegant decorative feature but are also functional.
The large copper coach lights on each side of the garage door nicely complement the gas-burning post lantern at the end of the walkway.
All cedar accents were stained to bring out the warm natural beauty of the wood.
Our hardscape team added flagstone wainscoting not only to the porch columns but also along the side of the house, the garage, and the backyard retaining wall.
The homeowners also decided to rebuild the mailbox in the same style as the columns on the house and the newly constructed garage to give the entire property a uniform and sophisticated appearance.
After completing the retaining wall, the custom iron railing and the arched gate could be forged to perfectly fit the curved wall.
With the project now finished and the front of the home newly landscaped, this property has undergone a breathtaking transformation.
This story could not be complete without a peek inside the finished garage. I just had to share a photo of the stunning oversized reclaimed wood barn doors that separate the car bay from the multi-purpose room.
We at Lasting Impressions Home Solutions are happy and proud that we could help this family make their dreams a reality.


